


For performance enthusiasts pushing their vehicle's limits on the road or track, upgrading to a performance clutch like South Bend is one of the most impactful modifications available. Unlike factory clutches designed for durability and comfort, performance clutches deliver significantly higher holding power, better bite characteristics, and improved feel for aggressive drivers. This comprehensive guide walks you through selecting the right clutch package and performing a professional installation.
Why Upgrade to a South Bend Performance Clutch?

Factory clutches in BMW and Audi vehicles are engineered for daily driving comfort and longevity, not maximum performance. When you exceed factory power levels through turbocharging, engine tuning, or simply drive aggressively on track days, the factory clutch can slip under hard acceleration or heavy cornering loads. South Bend Clutch manufactures performance clutches that handle 500+ horsepower while maintaining street drivability and reasonable pedal feel.
South Bend clutch kits include a high-friction clutch disc, reinforced pressure plate, and machined flywheel. The increased friction material and pressure mean stronger engagement and virtually zero slippage even during aggressive acceleration or sustained track sessions. Performance clutches do require some adaptation — engagement is typically sharper than factory, and heel-toe downshifting becomes more important for smooth gear changes.
Understanding Clutch System Components

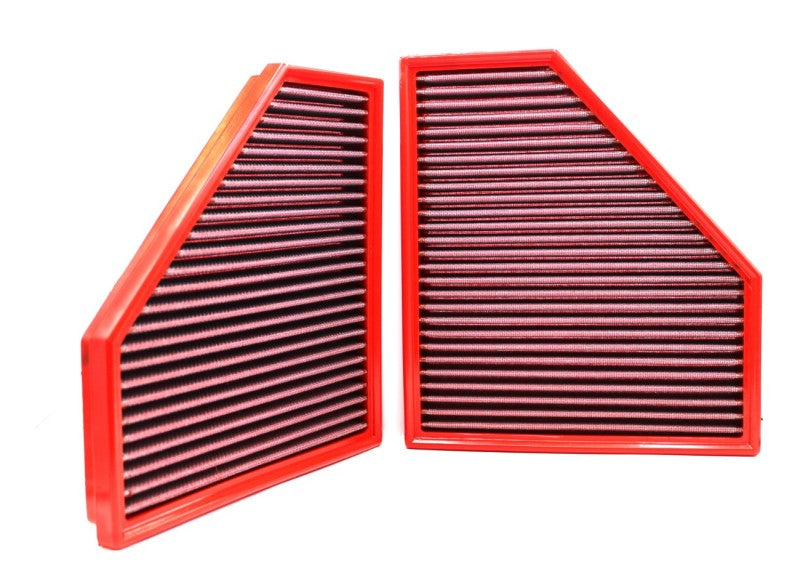
Your vehicle's clutch system consists of: the flywheel (bolted to the engine crankshaft), the clutch disc (splined to the transmission input shaft), the pressure plate (applies clamping force to the disc), the release bearing (controlled by the clutch pedal), and the transmission input shaft. When you press the clutch pedal, hydraulic pressure releases the pressure plate, allowing the clutch disc to spin freely. When you release the pedal, the pressure plate re-engages the disc, transferring engine power to the transmission.
Factory flywheels are typically heavy (10-14 lbs) and designed to smooth engine vibration. Performance flywheels are lighter (6-8 lbs) and improve throttle response and engine revving. When installing a performance clutch, upgrading to a lightweight flywheel significantly improves the overall driving experience.
Tools Required for Clutch Installation
Clutch installation is a significant undertaking requiring transmission removal. Essential tools include: a complete socket set, torque wrench, jack and jack stands, transmission jack, clutch alignment tool, pry bars, gasket scrapers, and a parts cleaner. You'll also need new transmission fluid and gasket sealant. This is a 6-10 hour job depending on vehicle configuration — experienced DIYers should allow a full weekend for completion.
Step-by-Step South Bend Clutch Installation
Step 1: Disconnect the Battery and Drain Fluids — Disconnect the negative battery terminal. Drain transmission and engine oil into appropriate containers. Remove the engine undertray and any heat shielding to access the transmission.
Step 2: Remove the Transmission — Disconnect the transmission electrical connectors, shifter linkage, and driveshaft or axles. Support the engine using an engine support bar. Remove all transmission mounting bolts and carefully lower the transmission using a transmission jack. This requires significant clearance — take your time.
Step 3: Remove the Clutch Assembly — Mark the pressure plate position relative to the flywheel with a marker or paint pen to aid reassembly. Remove the pressure plate bolts (typically 6-8) in a cross pattern to evenly release pressure. Remove the clutch disc and inspect the flywheel surface for scoring or damage.
Step 4: Inspect and Machine the Flywheel — If using a new flywheel, simply bolt it on torqued to specification. If reusing the existing flywheel, take it to a machine shop to have the friction surface resurfaced if scored. Clean all surfaces thoroughly with brake cleaner.
Step 5: Install the South Bend Clutch Assembly — Using a clutch alignment tool, center the new clutch disc on the flywheel. Install the new pressure plate, aligning your marks, and torque bolts to specification in a cross pattern. Install the release bearing on the transmission input shaft.
Step 6: Reassemble the Transmission — Carefully raise the transmission and bolt it back to the engine, torquing all fasteners to specification. Reconnect the shifter linkage, electrical connectors, and driveshaft or axles. Refill transmission fluid and engine oil.

Break-In Procedure for Performance Clutches
New performance clutches require a careful break-in period to achieve full engagement and optimal feel. For the first 500 miles, avoid aggressive acceleration, heavy towing, and rapid gear changes. Shifting should be smooth and deliberate. After 500 miles of light driving, gradually increase throttle input and enjoy the improved performance and holding power of your South Bend clutch.
Investing in a performance clutch is a commitment to driving at a higher level. Browse our South Bend clutch kits and complete the upgrade that serious drivers demand.
